
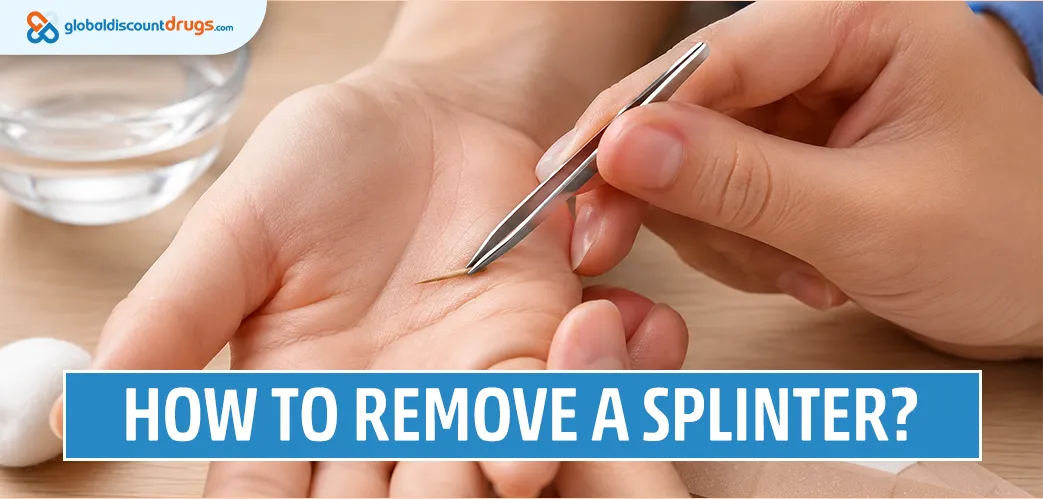
How to Remove a Splinter
Getting a splinter is a small injury which can lead to some surprisingly big discomfort like conditions. Whether it is about some tiny piece of wood, glass, metal, or a plant thorn. It might also leave a splinter under the skin as it can also lead to pain, inflammation, or even a bacterial infection.
Removing a splinter right at home is all about some quick and straightforward things if you follow the right first-aid steps. Below is how to safely take out a splinter while keeping the area clean and completely pain-free.
What You Need Before You Start
Gather some few clean supplies before one might even begin so that you do not have to stop midway:- Fine-tipped tweezers: Standard broad tweezers can further crush that splinter, making it harder to simply pull out.
- Rubbing alcohol or soap and water: For sterilizing the tools and further cleaning the skin.
- A small sewing needle: This is all needed when the splinter is well completely under the skin.
- Magnifying glass and good light: This can also help in seeing some of the small wood fibres or glass fragments clearly.
- Antibiotic ointment and a bandage: this can also help in protecting those tiny wounds after removal.
Step-by-Step Guide to Remove a Splinter
Follow some of the ordered steps with complete caution, and this can also help in avoiding breaking the splinter or pushing it deeper into the tissue.- Wash Your Hands and the Affected Area
- Prerequisite to avoid any sort of introduction to the bacteria
Sterilize Your Tools
Make sure that you clean the tips of tweezers (and a sewing needle, when needed. While using those things, make sure to rub the alcohol. Let them air-dry on a clean paper towel. Also, never use any sort of heat or flame to clean tools. Soot can enter the skin and cause irritation.Expose the Splinter (If Buried)
Only if the splinter is fully under the skin If the end of such splinter is sticking out, make sure to skip this step. If it is completely under a thin layer of skin, make sure that you use some sort of sterilized needle to gently pierce the skin while directing things over the top of the splinter. Make sure that you carefully lift the skin flap, and this can also expose the end of the fragment.Grip and Pull in the Right Direction
Crucial action step for avoiding the breakage in the fragment Use those fine-tipped tweezers and that shall help in grabbing the exposed end of the splinter close to the skin surface. Pull those splinters straight out at the same angle it entered. Do not squeeze the skin around it, which can break the splinter into smaller pieces.Clean and Bandage the Skin
Post-removal wound care Once the splinter is out, make sure that you wash the area again with warm water and gentle soap. Pat it dry using a clean tissue, make sure that you apply a tiny dab of petroleum jelly or antibiotic ointment. Later, make sure that you cover it with a sterile adhesive bandage.What NOT to Do When Dealing with a Splinter
For preventing complications including infection or embedded fragments, do not repeate these common mistakes mentioned below:- Do not squeeze or pinch: Squeezing the skin around a splinter can simply snap it in half or force it deeper into going deeper into the skin tissue.
- Don't use dirty tools: Unsterilized tweezers or some of the rusty needles carry bacteria, which can lead to a localized skin infection.
- Don't soak wood splinters: Soaking wood or plant thorns in water can make them swell and crumble when you try to grasp them
Editorial Standards
Content published on Global Discount Drugs is reviewed by healthcare professionals and supported by credible medical sources. Read our Editorial Content Policy to learn more.
